| Model | Specification DxL |
| JT-0-M-40-3 | Φ4.3×3.0(G/H) |
| JT-A-0-M-40-3 | |
| JT-0-M-40-4 | Φ4.3×4.0(G/H) |
| JT-A-0-M-40-4 | |
| JT-0-M-40-5 | Φ4.3×5.0(G/H) |
| JT-A-0-M-40-5 | |
| JT-0-M-40-7 | Φ4.3×7.0(G/H) |
| JT-A-0-M-40-7 | |
| JT-0-M-45-3 | Φ4.8×3.0(G/H) |
| JT-A-0-M-45-3 | |
| JT-0-M-45-4 | Φ4.8×4.0(G/H) |
| JT-A-0-M-45-4 | |
| JT-0-M-45-5 | Φ4.8×5.0(G/H) |
| JT-A-0-M-45-5 | |
| JT-0-M-45-7 | Φ4.8×7.0(G/H) |
| JT-A-0-M-45-7 | |
| JT-0-R-40-3 | Φ4.3×3.0(G/H) |
| JT-A-0-R-40-3 | |
| JT-0-R-40-4 | Φ4.3×4.0(G/H) |
| JT-A-0-R-40-4 | |
| JT-0-R-40-5 | Φ4.3×5.0(G/H) |
| JT-A-0-R-40-5 | |
| JT-0-R-40-7 | Φ4.3×7.0(G/H) |
| JT-A-0-R-40-7 | |
| JT-0-R-50-3 | Φ5.3×3.0(G/H) |
| JT-A-0-R-50-3 | |
| JT-0-R-50-4 | Φ5.3×4.0(G/H) |
| JT-A-0-R-50-4 | |
| JT-0-R-50-5 | Φ5.3×5.0(G/H) |
| JT-A-0-R-50-5 | |
| JT-0-R-50-7 | Φ5.3×7.0(G/H) |
| JT-A-0-R-50-7 | |
| JT-0-R-60-3 | Φ6.3×3.0(G/H) |
| JT-A-0-R-60-3 | |
| JT-0-R-60-4 | Φ6.3×4.0(G/H) |
| JT-A-0-R-60-4 | |
| JT-0-R-60-5 | Φ6.3×5.0(G/H) |
| JT-A-0-R-60-5 | |
| JT-0-R-60-7 | Φ6.3×7.0(G/H) |
| JT-A-0-R-60-7 | |
| JT-0-R-70-3 | Φ7.3×3.0(G/H) |
| JT-A-0-R-70-3 | |
| JT-0-R-70-4 | Φ7.3×4.0(G/H) |
| JT-A-0-R-70-4 | |
| JT-0-R-70-5 | Φ7.3×5.0(G/H) |
| JT-A-0-R-70-5 | |
| JT-0-R-70-7 | Φ7.3×7.0(G/H) |
| JT-A-0-R-70-7 |
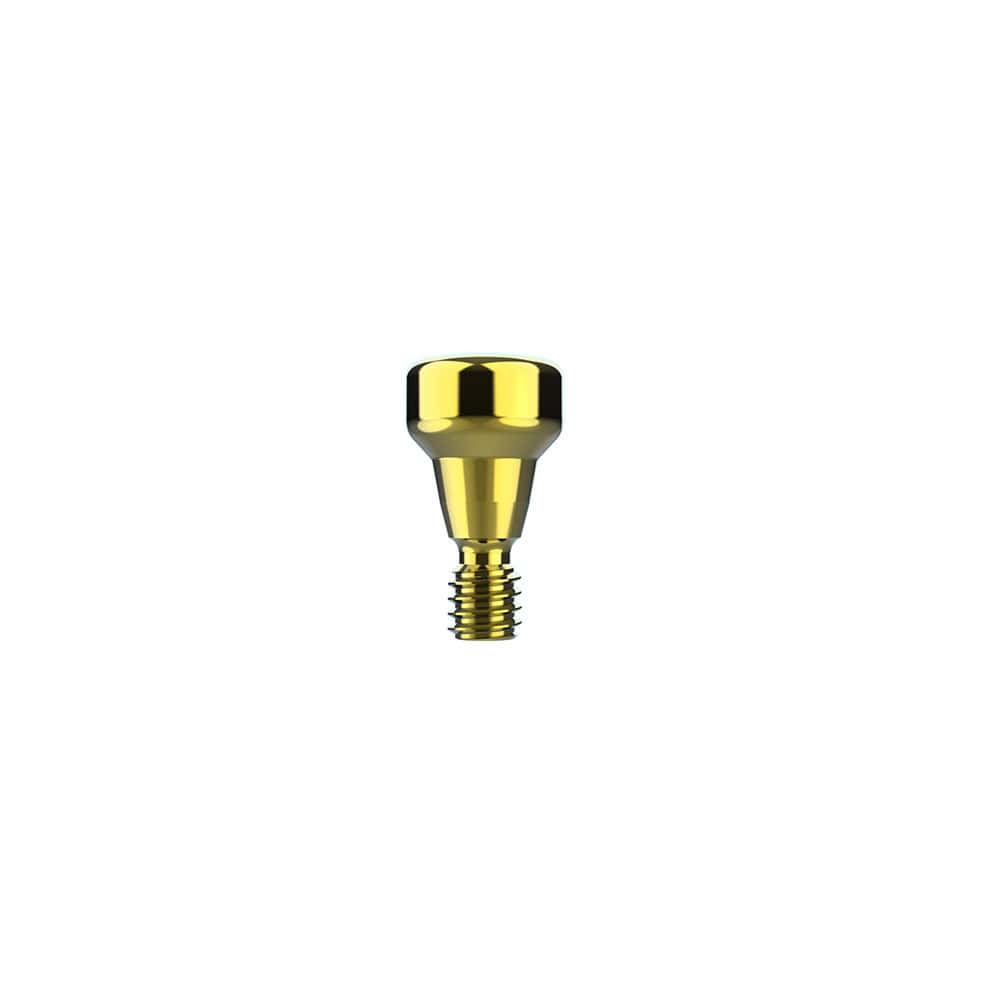
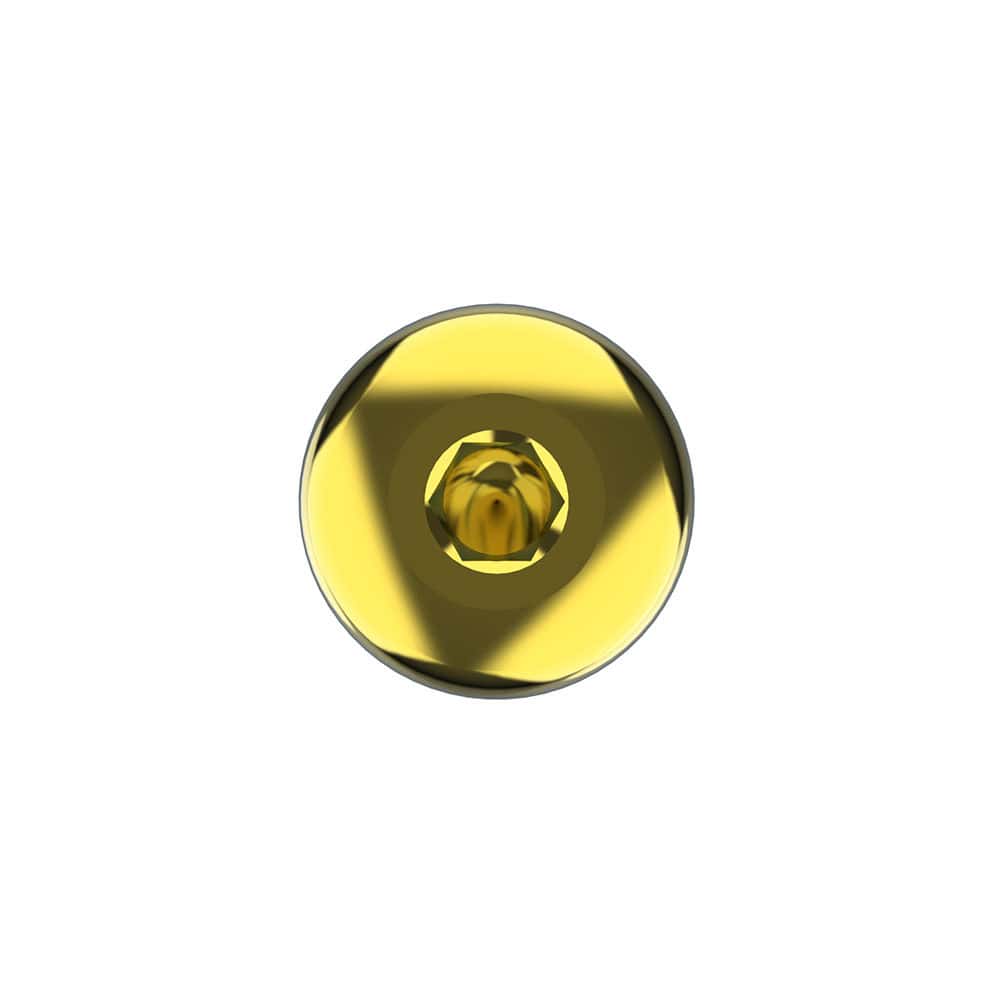
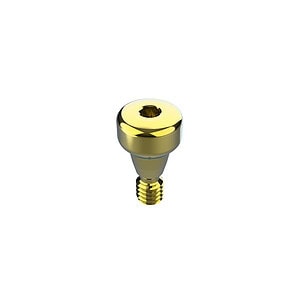
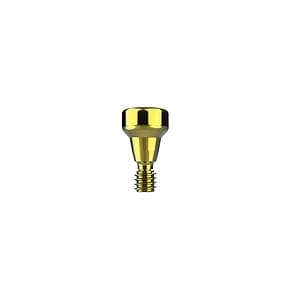
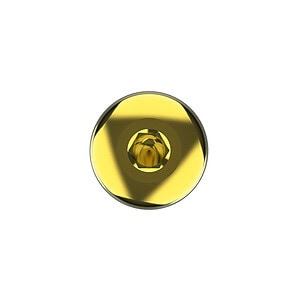
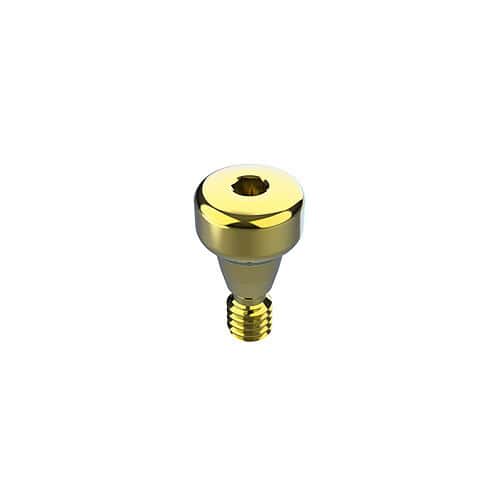

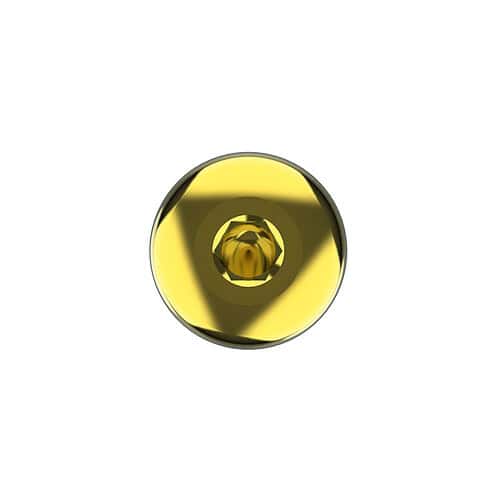
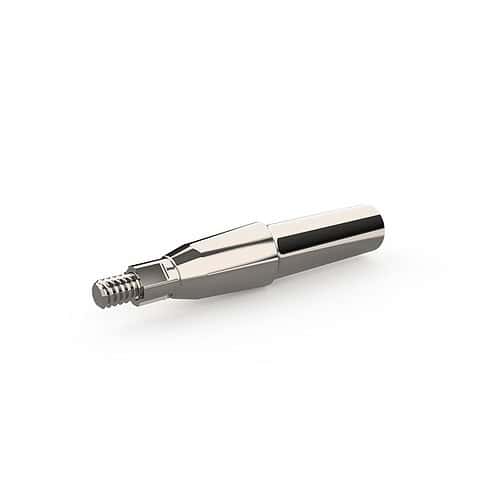
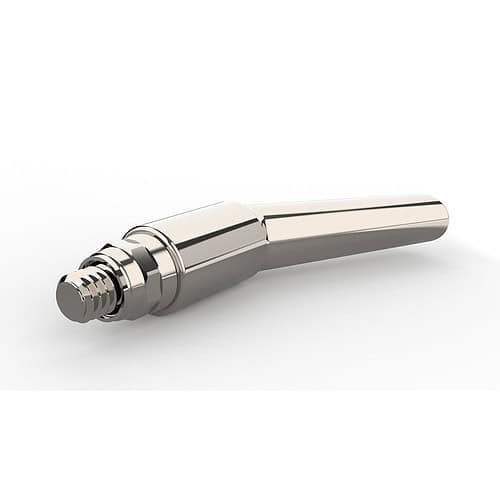
Healing Abutment
A temporary component used post-surgery to shape soft tissue and maintain access to the implant site. Designed for easy insertion and atraumatic removal, it promotes ideal tissue healing for optimal prosthetic outcomes.
Description
Related products
-
Dental Implant
Abutment Bridge
-
Dental Implant
Cross Abutment
-
Dental Implant
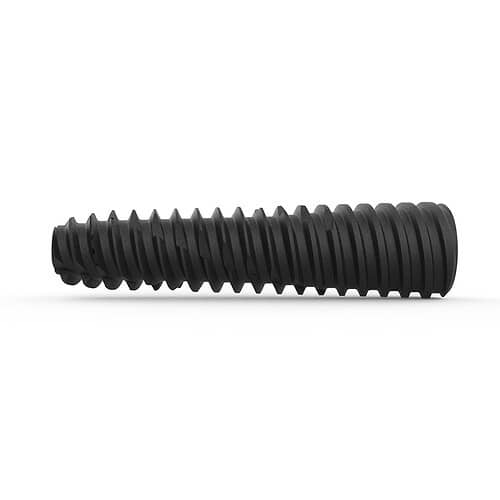
Dental Implant Fixture
-
Dental Implant
Octagonal Abutment